Showing posts with label Brand - Claire's. Show all posts

Claire's Goldmine & exciting new frankens!!!!!

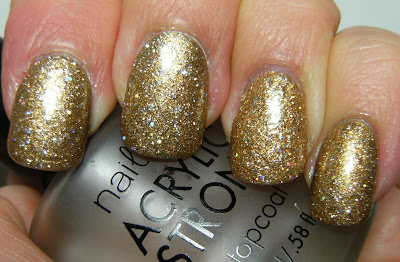
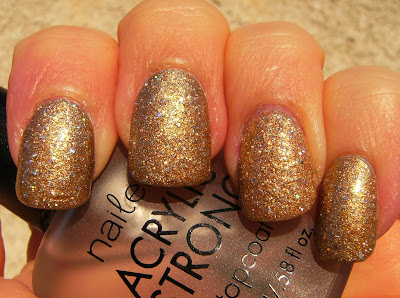
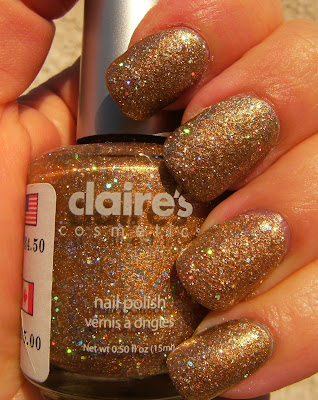
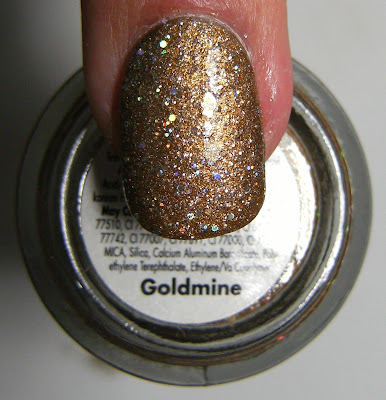
above - Claire's Goldmine, 2 coats layered over Billie Gold metallic w/ 2 coats of TC

But first frankens!!!!!!!I found a few bottles of NYC East village on sale a few months ago. I knew I would  be whipping up some frankens with them eventually. I finally got around to it this evening. Before I knew it it was 10:45, my whole evening spent franken-ing! All my frankens turned out as I envisioned they would. I am so excited to wear them.


 NYC East Village5 coats w/ TC = This polish is pretty layered over other polish's and it did dry fast..
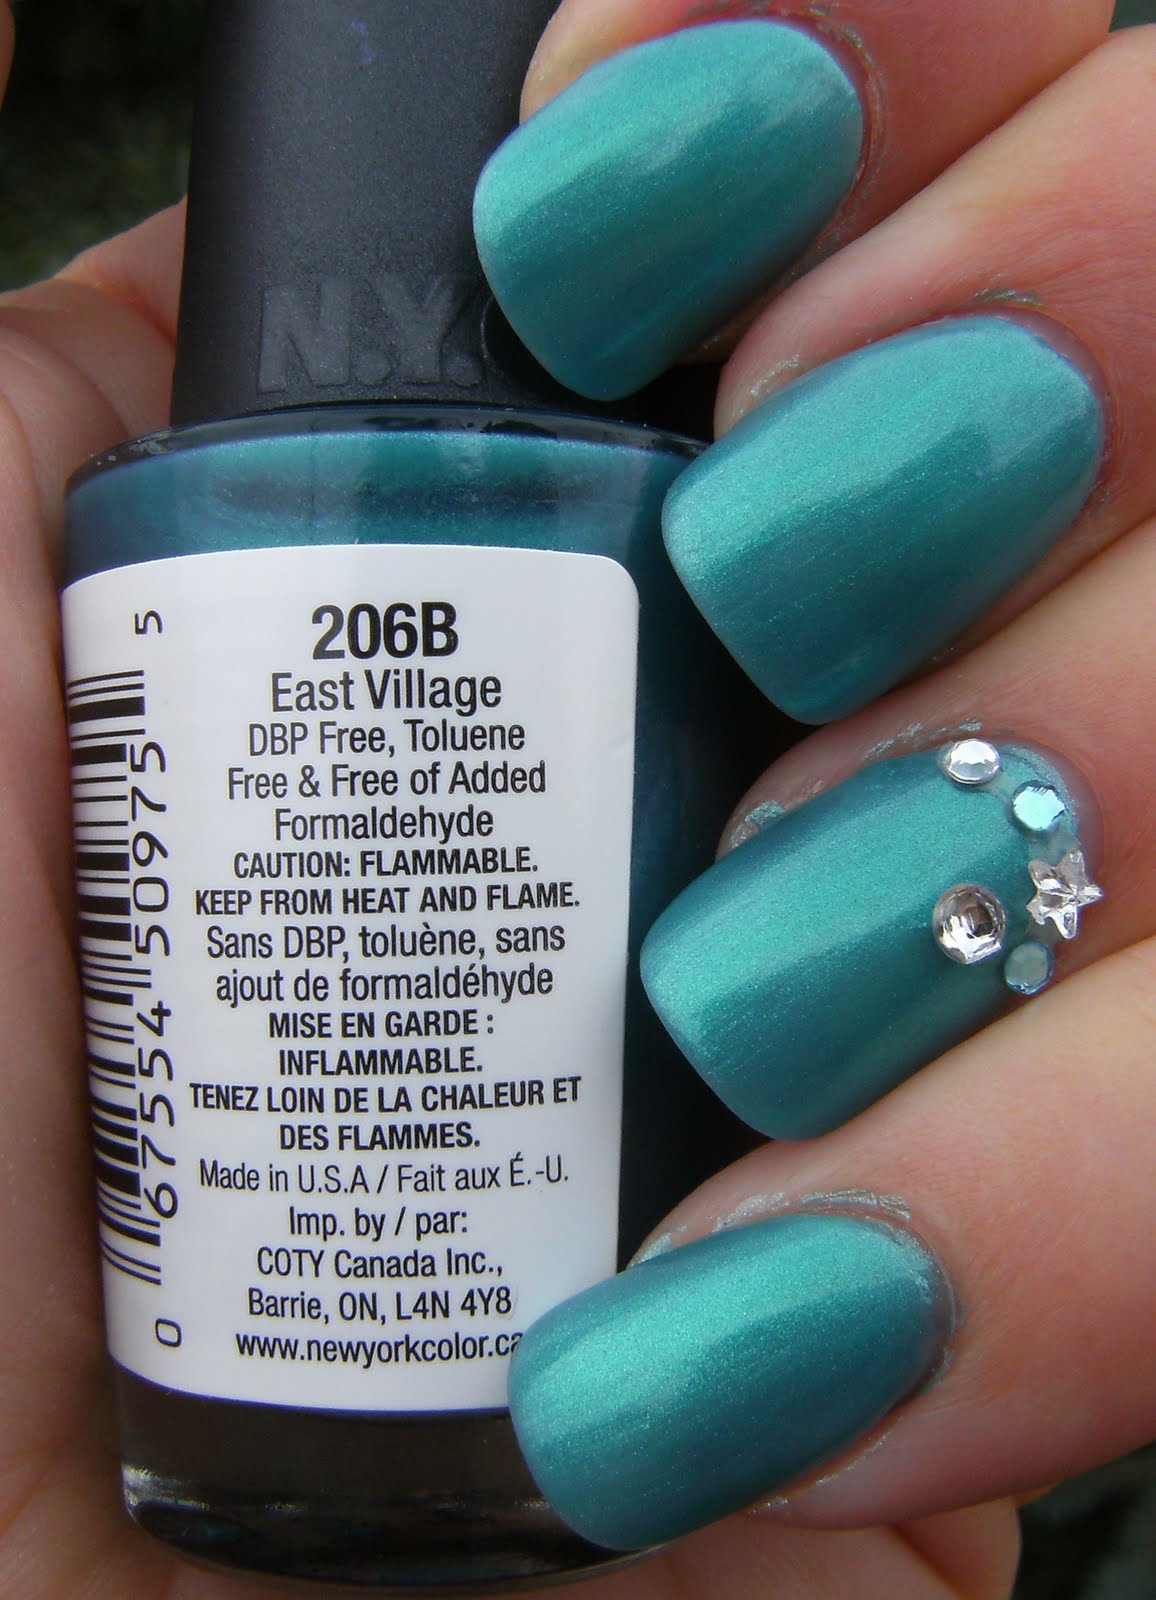

NYC East Village is a ridiculously sheer teal shimmer. HERE is a previous post I did on this polish The only polish's I used for these frankens below were NYC West Village, a Black creme, a White creme and a shimmery sparkly Icing polish. These were very simple to make. taking your time, adding drop by drop for deep pigmented colours and taking notes is they way to go when frankening.

I will be doing individual posts on these starting tomorrow. Sorry about just bottle pic's and small swatches.... I had to post this asap, because using this for frankens worked out excellent - plus the labels peeled off more easily than any polish label I have come across!

( I picked these up for 72 cents each last Autumn)
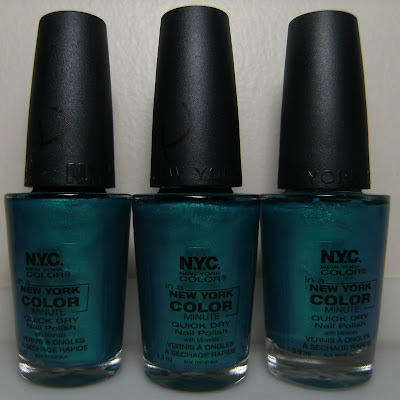
and my frankens, with the OG at the end


.... and a few more photos of Claire's Goldmine, 2 coats w/ 2 coats of TC


♥

GOLD Space Nails


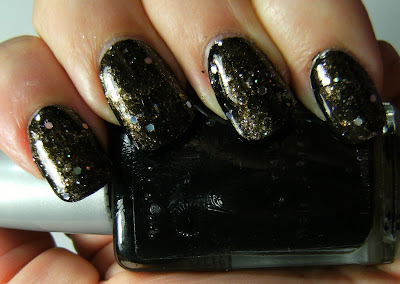
1 coat of Wet n Wild Black Creme, then Claire's Goldmine sponged on in some areas, I tried to leave some bare spots, then 1 coat of a black/gold shimmer/glitter jelly franken I made using WnW B|lack Creme and the Claire's Goldmine and clear nail polish. I added a few random holographic hex glitter pieces, then topped it off with 2 coats of TC ( even though only 1 coat of TC is shown in the photos this mani is really shiny and so it is reflecting everything around it, I wish I matte-i-fied this for photos)

I was a little over-zealous with the sponging, so I cannot call these galaxy nails, more like outer space nails. Though my thumb does look like clusters of galaxies, rather and outer-space.


It has been difficult but hope to stick with the gold theme for the remainder of the week. I think this is the colour family I have the least polish's of. Whenever I have needed a gold polish, I always turn to Billie Gold or Claire's 14 Karats. Those are my 2 favirote gold polish's.  Up next for gold week is a full mani with Claire's Goldmine, the holographic gold polish I used in the mani.


the large hex glitter looks more holographic in this photo below


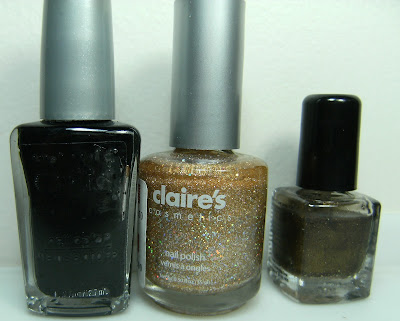
below - unshaken franken polish I made with clear, black and a few drops of Claire's Goldmine,  this looks good layered over other polish's

above, after it has been shaken up - those gold particles stay somewhat suspended in this black jelly base...... it's really pretty, I will add this to my must-swatch basket and add photos asap


..... and a few more photos

WnW black creme, Claire's Goldmine and my black jelly gold shimmer glitter franken


♥ a nice photo to show off the space effect ♥
♥

New Blogs & St Patty's Day Sponge ( again )


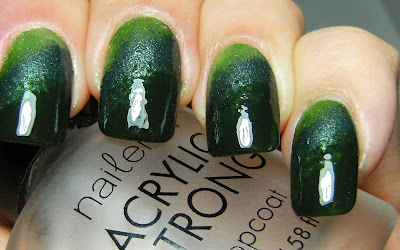
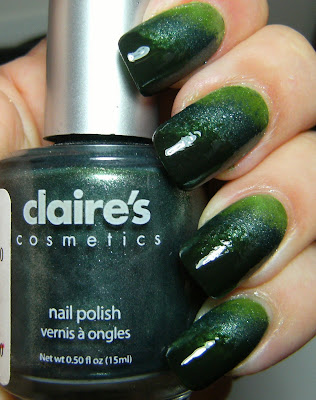
Sponge Mani using Claire's Evergreen, Emerald City and Finger Paints Tough Art To Follow


Here is another quick sponge mani I have worn all weekend.... I desperately wanted to copy THIS rainbow nails mani that Polish Infatuated posted a few days ago, but my base was too dark and the colours I chose didn't show up...... Here is the Original post and tutorial=


More photos below, but first NEW BLOGS!


rebeccalikesnails

moondancerjen

crazydirtystyle

fazendoesmalterapia

leimaillaan

thenail-goddess

artfulxpression

overthetaupebeauty

rainbowsandsparklesblog

everchangingbeauty

conversandosobreesmaltes

ladyluckbeauty

kawaiinailart

♥♥♥ Thank-you everyone for adding your blog ♥♥♥

For this mani, I started with 2 coats of Claire's Evergreen, then sponged on Claire's Emerald City diagonally across the center of my nails, then sponged on Finger Paints Tough Art to Follow diagonally across the tips of my nails, I went over this area twice with the sponging, and even filled in some sparse areas with polish straight from the brush to smooth out any lumpy/bumpy spots.

The base polish I used is visible in some areas, I half-*ssed this mani when I could not get the 'rainbow-sponge' to work out like I planned - it still looked cool though and I wore it all weekend♥

w/Claire's Evergreen


W/ Tough Art to Follow

@ 2coats of Claire's Evergreen, a snappy lite green foil

TAPE is your friend, otherwise ~ sponged polish all over your cuticles...

@ 1 coat of Tough Art To Follow sponged on then brushed on.... there are still some sparse areas.....