Showing posts with label Brand - Avon. Show all posts

A Gentle S-curve Mani


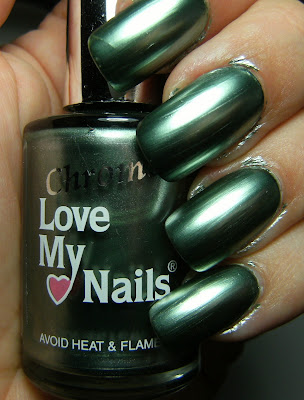
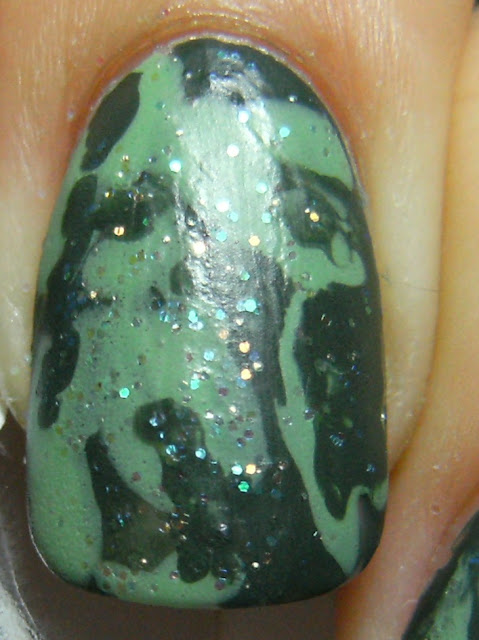
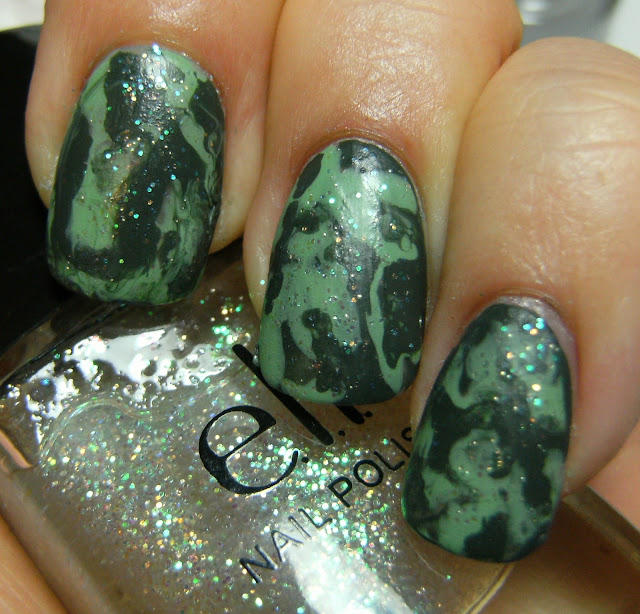
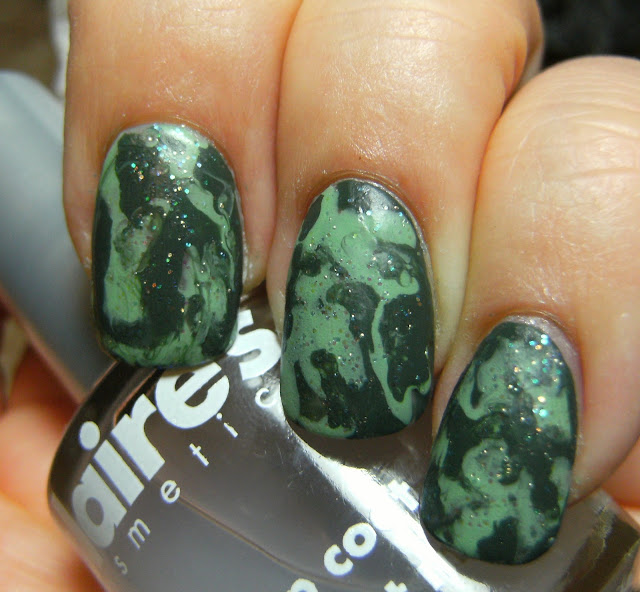
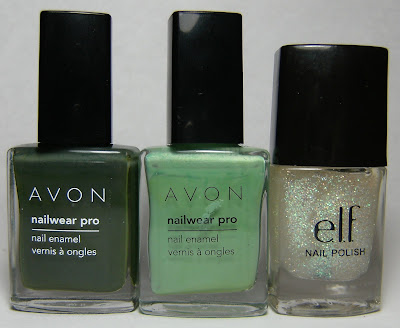
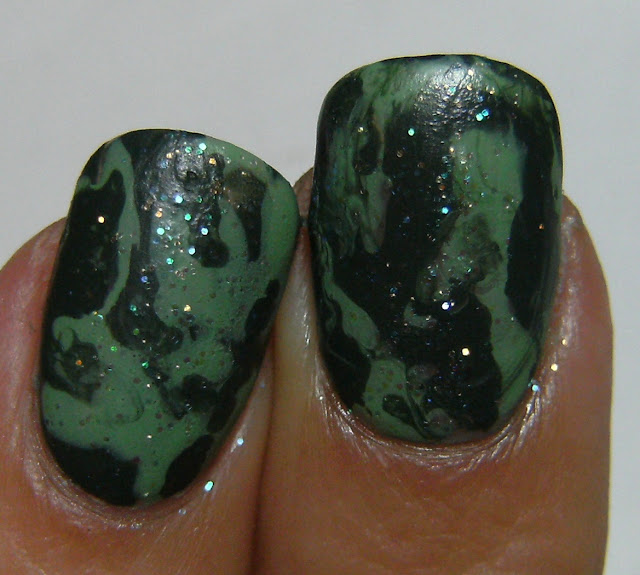
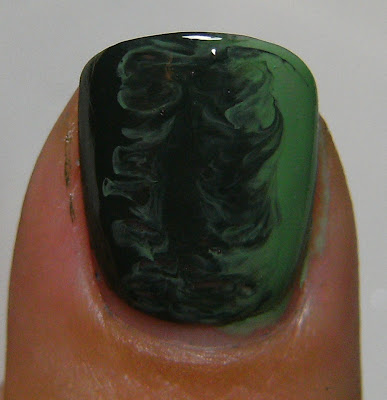
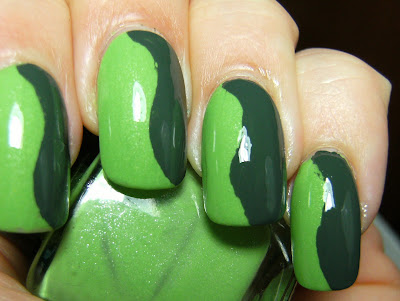
3 coats of a franken  I made, with 1 coat of Avon Green Olive and Top Coat


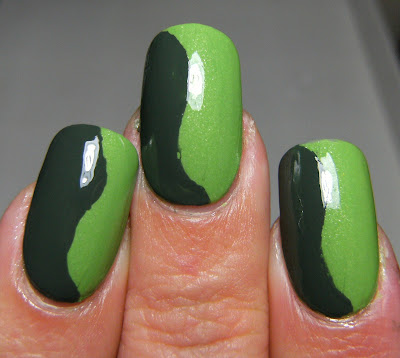
Even though my curves are not perfect, I still like this look. Whenever I am at a loss for a cool manicure to do  - I usually end up with a simple diagonal mani, and this is a nice break from that. I cut mailing labels in the shape of an elongated ying yang that I call a Gentle S-curve manicure.

I am delighted that I can finally bend my Index finger and do stuff, so I have been doing crafty things - but have lost my creative NAIL ART MOJO, hopefully catching up on reading everyone's blog will get me inspired to whip up some cool looks for the next week.


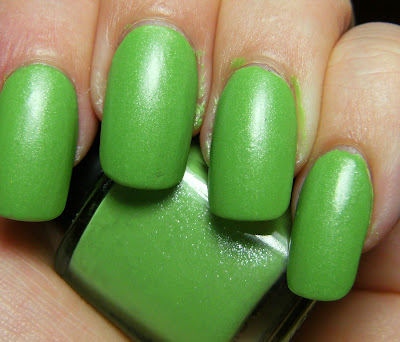
The base polish I used is a franken polish I created with a sunny yellow and a dark matte blue
Here is the post on it and others I made with the same 2 polish's

I apply these 'nail guides' I made then snip off the excess overhang and apply polish 
=  remove when dry and add top coat

with TC


hopefully no one will point out that there is a HUGE piece of fluff on my index nail, that is shaped like an inchworm.... jutting out of the polish♥

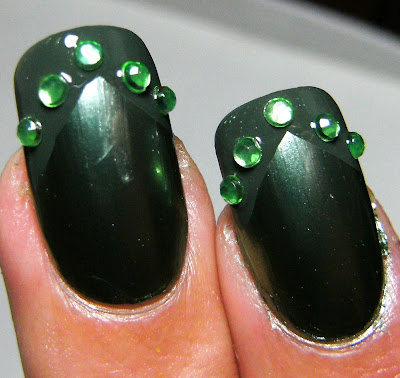
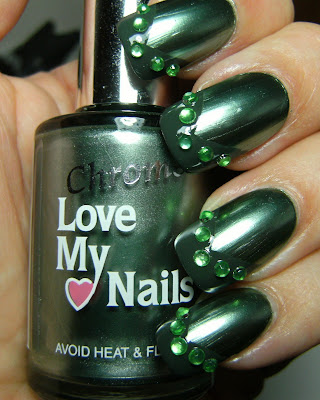
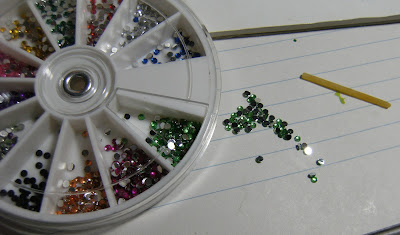
Also; Only 2  of these fake rhinestones from the dollar-rama fell off my pinky nail on my left hand in 32 hours.... that was surprising as I only set them into my wet top coat and did not apply any polish over them, as I usually do.

Leprechaun Chevron ( that rhymes )


My mani for today is 2 coats of Love My Nails Envy - a fabulous green chrome polish from the USA and Avon Green Olive 1 coat swiped on my nails in a chevron freehand.....I added an obscenely thick layer of Top Coat and set these fake Rhinestones from the Dollar-rama into the wet Top Coat. Applying Top Coat OVER these gems from the DollarRama will fog them up because they are plastic - there still cool though even if they get fogged over.

Chrome polish's such as this show every flaw on the nail. They tend to dry very fast, so I usually end up with serious brush strokes. They are extrememly reflective and noticeable. I was surprised with this polish, I thought it would suck but it's pretty awesome. Because they dry fast and cover well, they are good for 'underwear' = as a polish to layer over. On my list for my next USA visit is a few more of these inexpensive Love My Nails Chrome polish's - They are 2 bucks and can be found at Walmart.


@ 2 coats of Love My Nails Envy  no TC


My plastic gems from the Dollar Rama - These are not Rhinestones and will fog over if polish applied over them.... that still looks cool but I wanted some sparkle. Also; a piece of spaghetti - not cooked lol - is perfect to pick these up and place into wet polish - I lick the end of the spaghetti and then pick up the stones...

... and a few more photos

Avon Jade and Olive Green camo mani


For this mani, I applied blobs of polish straight from the brush randomly over my nails and swirled then around with a dotting tool. When it was dry I applied a coat of ELF Twinkle Twinkle over my nails. Instead of a shiny finish I opted for a matte top coat, which I think suits this much better.

ELF Twinkle Twinkle has a weird chunky formula, and not in the good way -  it's like hair gel.....and it dries matte with alot of textured brush strokes and grainy-ness. It dries fast and has a pretty glitter finish, so those odd characteristics are forgivable.

Avon Jade and Avon Green Olive are the only 2 modern Avon polish's I have. They are fabulously opaque creme finish's and dependable 2 coaters. These are the American versions, the formula is awesome and they dry fast and VERY shiny.


w/ Claire's Matte Top Coat


Products used -  Avon Olive Green, Avon Jade and ELF Twinkle Twinkle.


Below; this close-up is not flattering..... you can really see the weird grainy/texturized finish of ELF Twinkle Twinkle.... I think that it needs a nice shiny top coat to mask that, other than that the glitter in it is very pretty, it's sparse enough that it can be layered over another polish without eclipsing whatever it is being layered over.


For my thumbs, I applied a thick-ish stripe of polish to each side of my nails, and dragged a dotting tool in between the colours. This is called 'Day to Night' Technique, ( that's what I call it now ) which I fist saw on You Tube by You Tuber May Paris. When it was dry  I applied Nailene TC to this, but I think that I was a little heavy-handed with the green as it took alot longer to dry and I got bubbles!

I have tried this a few times and I still have not perfected it, I sometimes have some bare spots -  these are visible towards the base of my nail.


Below' Avon Green Olive & Avon Jade ( USA Versions )