Showing posts with label Franken Polish. Show all posts

Plug Yourself Sunday and a new Franken; Welcome to the Jungle


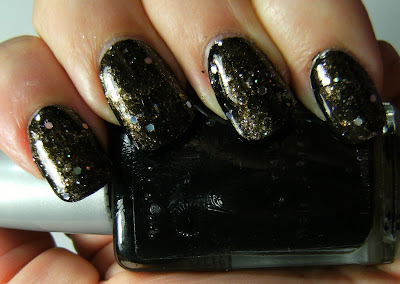
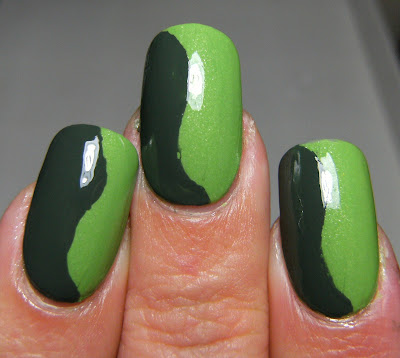
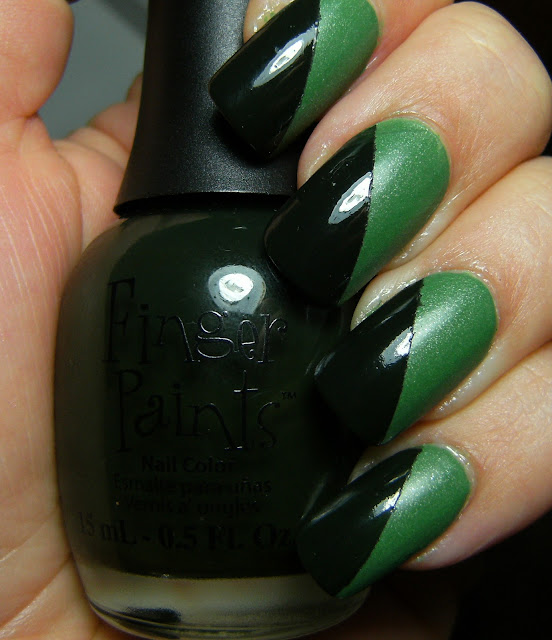
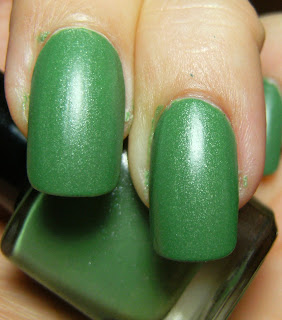
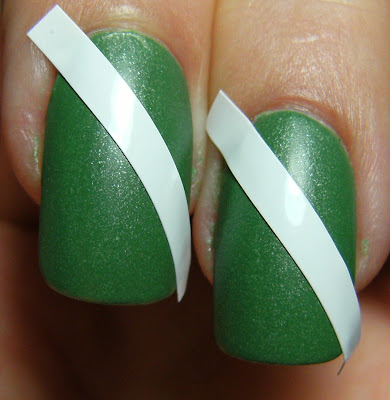
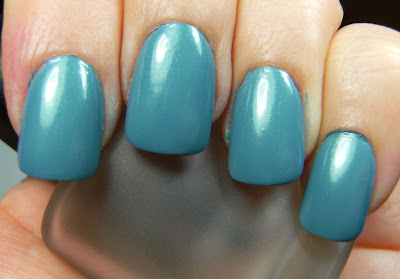
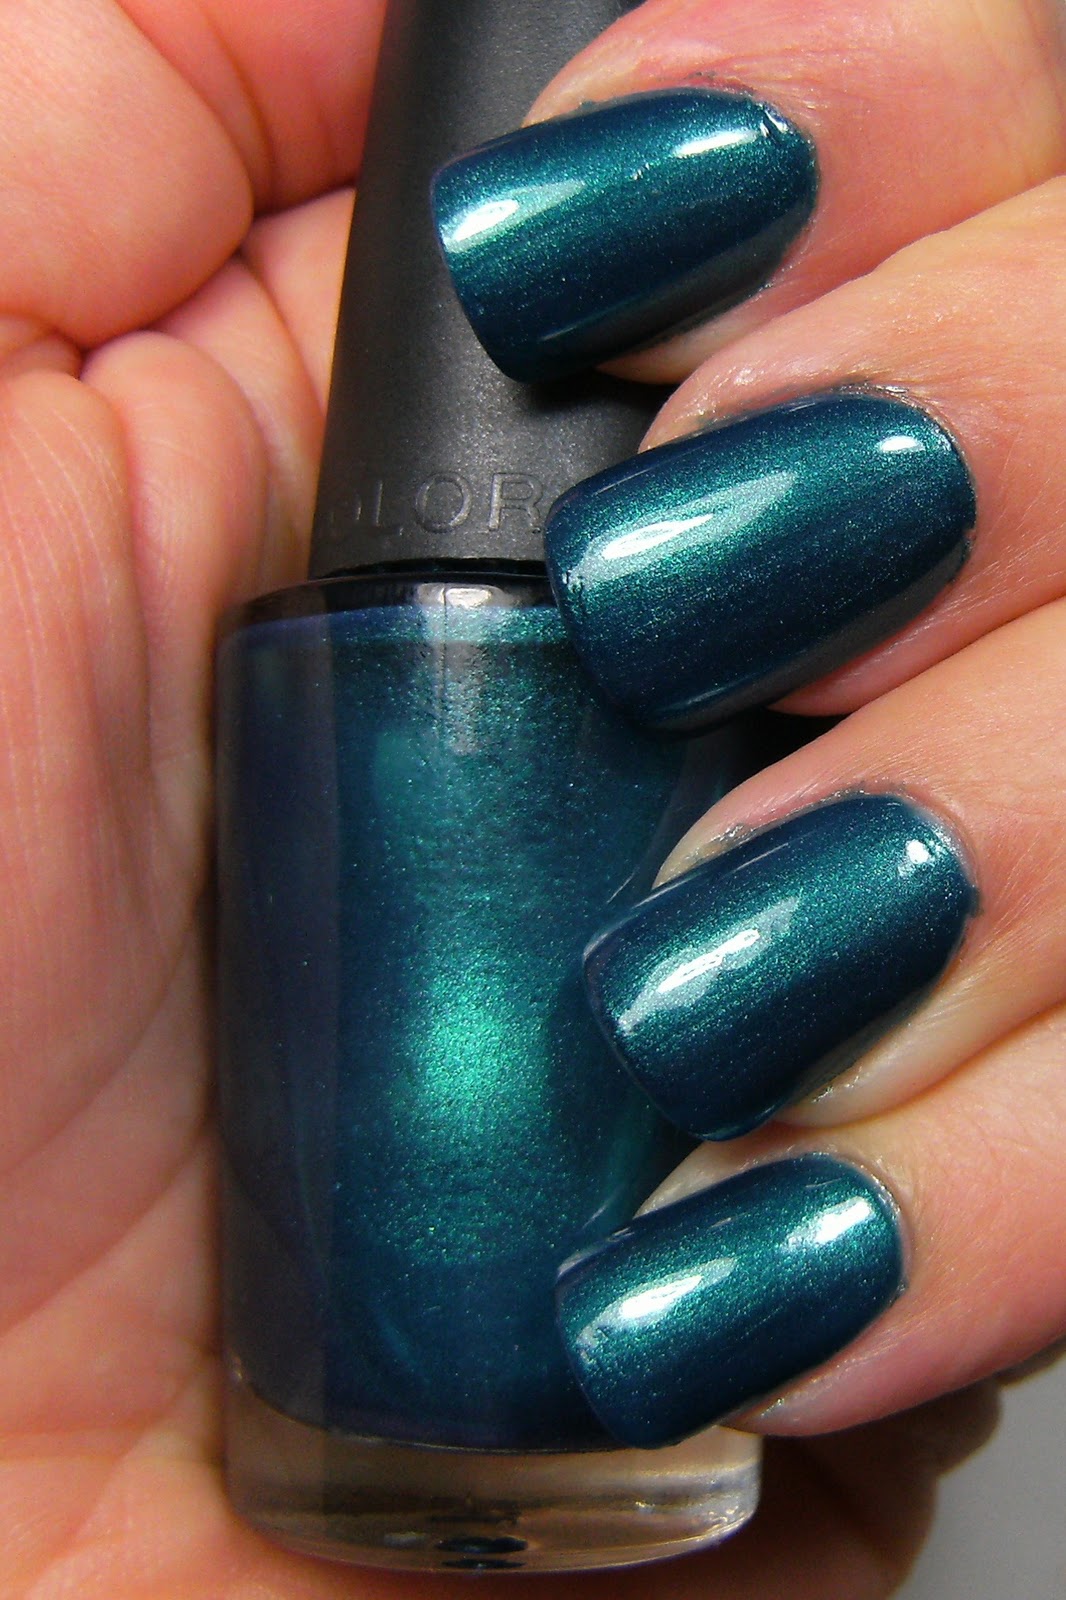
Franken Welcome to the Jungle - 2 coats No Top Coat

AHHHHHH! This turned out exactly as planned.  A Blue/Grey polish with teal shimmer. So its Grey, but not boring because the teal shimmer is very evident. I made this with NYC East Village, and a black creme and a white creme ( or Grey - whatever) The sun is not up yet, but here are a few indoor fluorescent photos without top coat.

I plan on adding something more to this and will update.... eventually.

Meanwhile please add your nail blog to my comments, I spent so much time reading and finding new blogs last week I barley added my own posts! I know it's sappy and cheesy but I am so thankful that a medium like this exists - I spend hours and hours a week reading nail/beauty blogs....


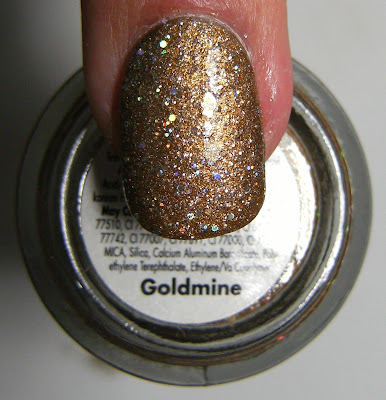
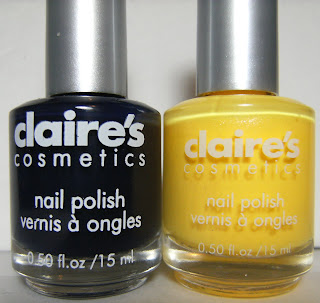
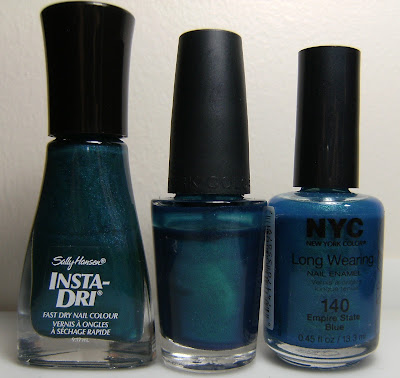
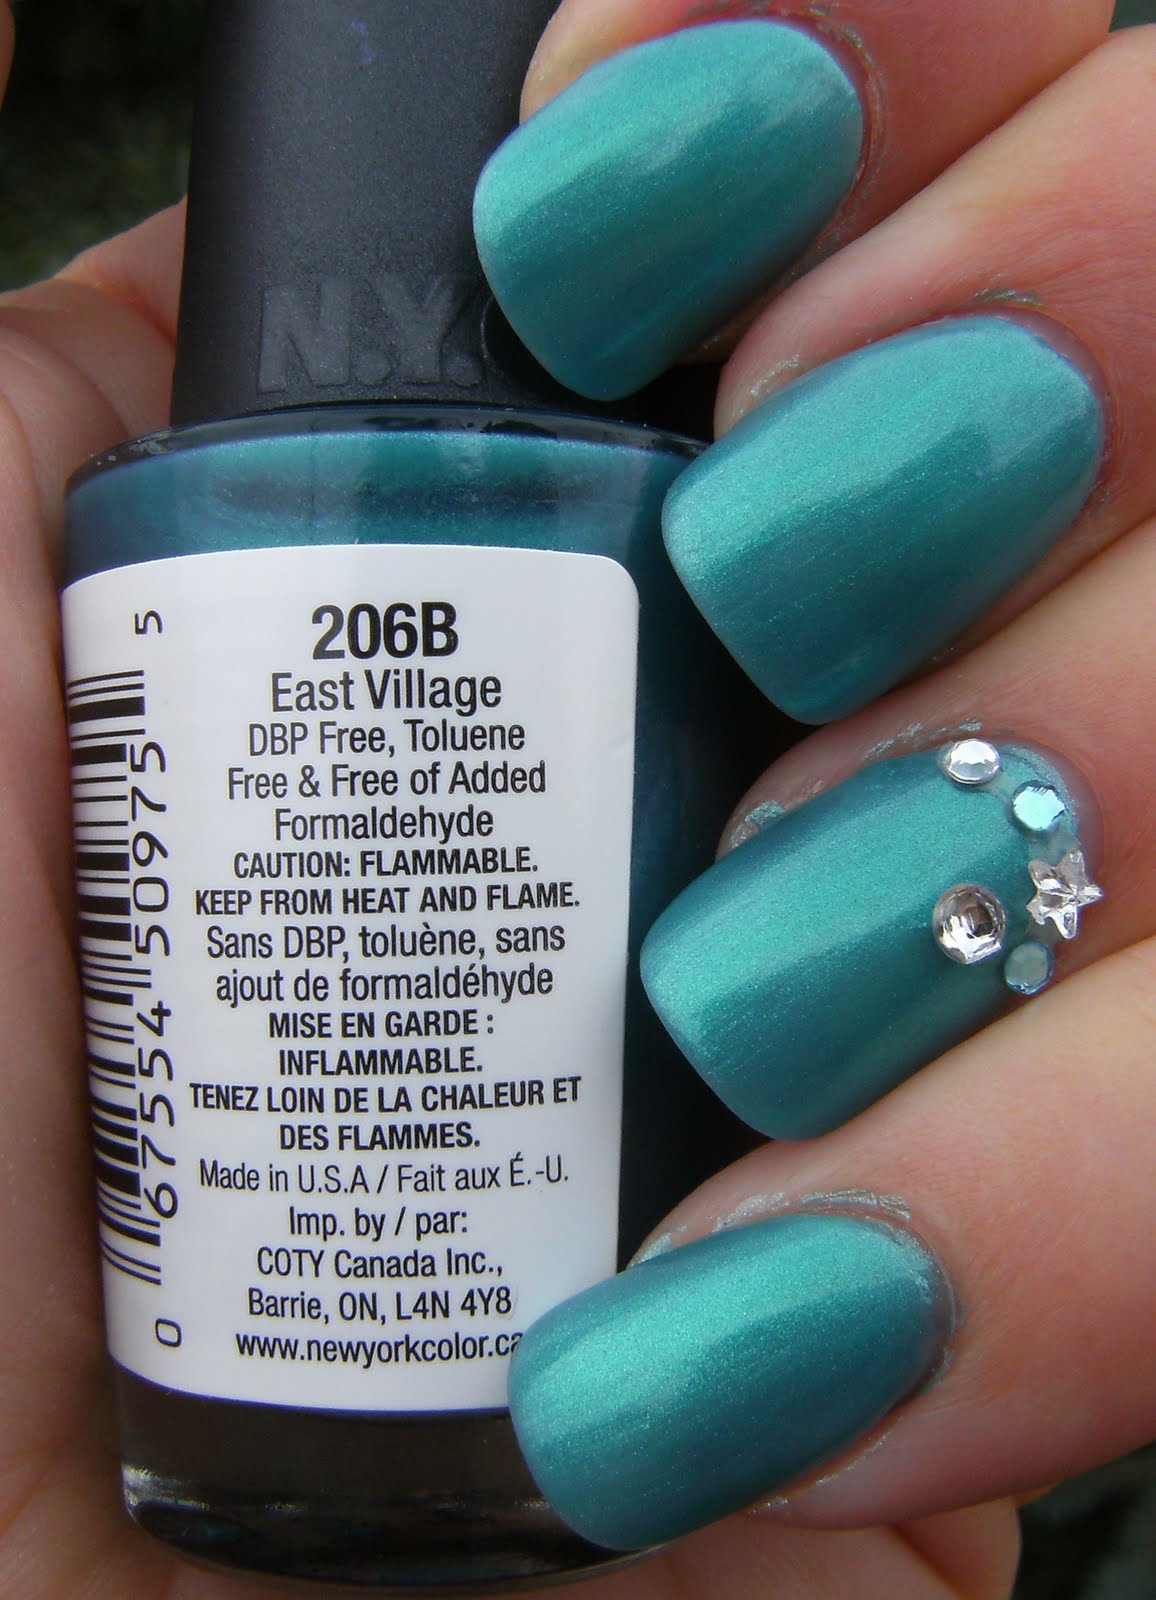
the polish i used - NYC East Village


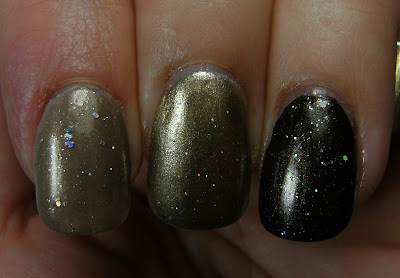
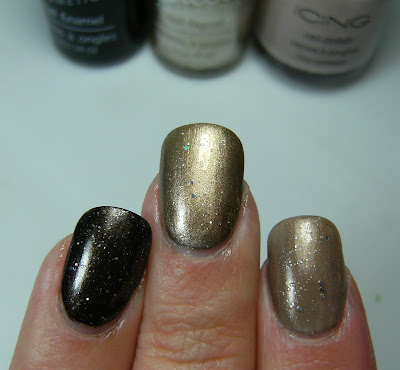
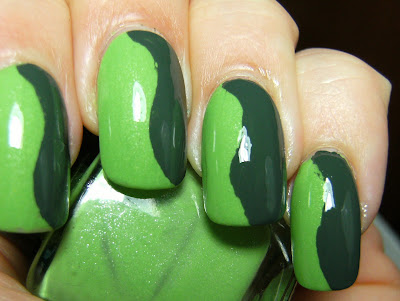
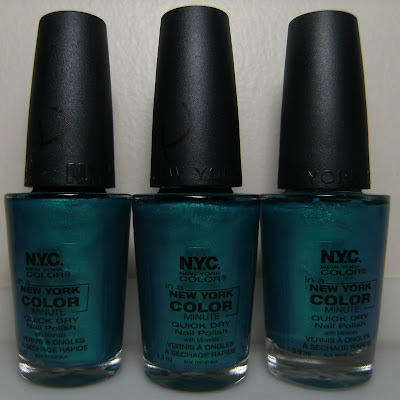
and a comparison of some similar colours of the first franken I wore from my 80's metal power Ballad's Collection of Franken-polish.

I love the colour of Sally Hansen Teal Take-off on my ring nail, but is is so thick and needs to be applied with lightning speed. Normally I appreciate that, but this dries so fast that it sometimes makes application difficult. My franken is close in colour but much more shimmery.


Index - 3 coats of NYC Empire State Blue
Middle - Franken Dude Looks Like a Lady 2 thick coats w/TC
Ring - Sally Hansen Teal Takeoff 2 coats
Pinky - Franken Dude Looks Like a Lady 3 coats w/TC

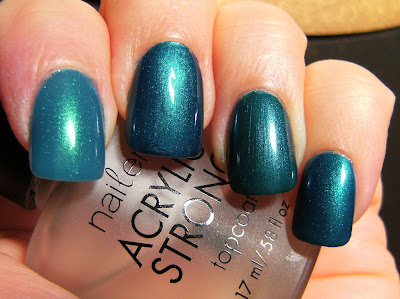
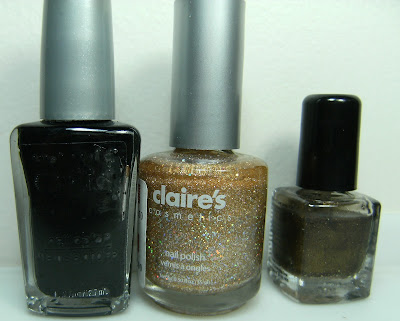
NYC Empire State Blue, Franken, Sally Hansen Teal Take-off

Below- L-R Teal Take-off, Franken, NYC Empire State Blue
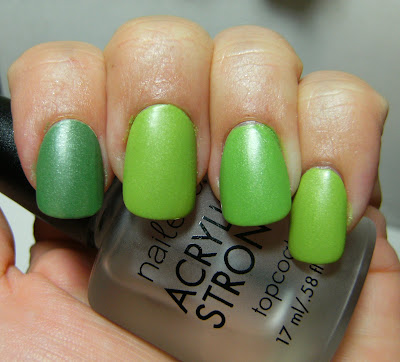
indoor fluorescent

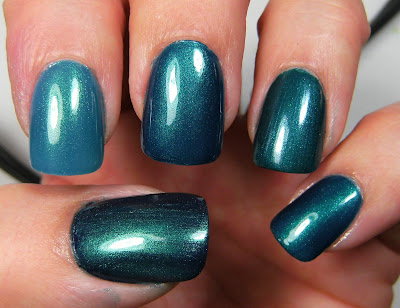
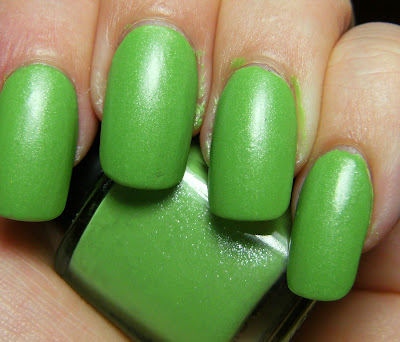
Thumb - 2 coats of NYC West Village with 1 coat of East Village ( I looooove this )
Index - 3 coats of NYC Empire State Blue
Middle - Franken Dude Looks Like a Lady 2 thick coats w/TC
Ring - Sally Hansen Teal Takeoff 2 coats
Pinky - Franken Dude Looks Like a Lady 3 coats w/TC

sun


East/ West Village Franken


NYC EAST Village and NYC WEST Village - a 50/50 ratio made this lovely franken. This is 4 thin coats, with my MIDDLE nail at 2 thick coats, which resulted in some bubbles. Wish I could get some sunshine pics of this = will do comparisons tomorrow.


Also - I think Blogger reset everyone's blog so that you have to verify you are human, and not a spam robot from the future. When I went to comment on blogs that did not previously have this the verify catchpa thing came up, including on my blog = = =booooo! those things annoying, but necessary to stop spam.


 NYC West Village & NYC East Village made this lovely franken 

 I am naming this polish 'Dude Looks Like a Lady' for the anonymous e-mailer who thinks I am a dude. I actually think that early 90's hair metal ballads will be the name of this collection of frankens (see my post from yesterday ). So i will have plenty of cool names. - its actually kinda hard to come up with names for my frankens - so 90's glam rock/hair metal it is! ( those are the same things, right? )


I will do comparison to other peacock-like colours tomorrow. This polish is just a straight up dark blue with teal shimmer, there is no purple or gold in here - it is very pretty and I actually wanted to purchase a polish just like this. it still needs 3 to 4 thin coats but dries FAST!!!!!

- the stickers come off very easy on these -


Here is the post on NYC EAST Village, it is a very sheer teal shimmer that needs 5 or more coats to opacity.


And HERE is the post on NYC WEST Village, which is a dark shimmery blue - it can be opaque in 2 coats and dries very fast - too fast, but I like my polish's like that!!!!!


Claire's Goldmine & exciting new frankens!!!!!

above - Claire's Goldmine, 2 coats layered over Billie Gold metallic w/ 2 coats of TC

But first frankens!!!!!!!I found a few bottles of NYC East village on sale a few months ago. I knew I would  be whipping up some frankens with them eventually. I finally got around to it this evening. Before I knew it it was 10:45, my whole evening spent franken-ing! All my frankens turned out as I envisioned they would. I am so excited to wear them.


 NYC East Village5 coats w/ TC = This polish is pretty layered over other polish's and it did dry fast..


NYC East Village is a ridiculously sheer teal shimmer. HERE is a previous post I did on this polish The only polish's I used for these frankens below were NYC West Village, a Black creme, a White creme and a shimmery sparkly Icing polish. These were very simple to make. taking your time, adding drop by drop for deep pigmented colours and taking notes is they way to go when frankening.

I will be doing individual posts on these starting tomorrow. Sorry about just bottle pic's and small swatches.... I had to post this asap, because using this for frankens worked out excellent - plus the labels peeled off more easily than any polish label I have come across!

( I picked these up for 72 cents each last Autumn)

and my frankens, with the OG at the end


.... and a few more photos of Claire's Goldmine, 2 coats w/ 2 coats of TC


space nails franken, Cyber-bully ownage, new old stuff and lighting


2 coats of my black jelly/glitter/gold shimmer franken layered over ( L-R ) a beige/sand-ish shade, gold and black. NO Top Coat

This was my mani from yesterday I layered this franken over black & added more hex glitter

   The next time you read about someone writing something unkind/hurtful on the interwebz, think about this scenario on  XIAXUE's site  , imagine all the effort this dude went to - my goodness what the fudge.....- but good for her for investigating and sharing her experience.


....moving along


Here I have painted my nails with Billie Black, Billie Gold and Icing Sandy Beach, all 2 coats

and above with 2 coats of my franken - no TC
I think polish's like this look best over black


polish's I used to make this franken
WnW Black Creme, Claire's Goldmine and clear


Here is some old new stuff, or some new old stuff ~ I found these at a dollar store in my town. I already have several packages of the skulls in the center, but I have never seen the other two before.... $2 bucks each! (I am happy to find these types of deals but i have a teenie -tiny gripe about ti too! )


Before I forget about it, Beauties Factory has black full coverage artificial nails on their website, just for those that were asking............... not sure of the quality, but its nice to find them


and here is my new lighting situation...... these are both just plain lamps from the  thrift store with bright natural light light-bulbs from the grocery store. I was literally on my way to any department store to find/purchase a lamp with  a solid base and a bendy arm - I found that one for 4 bucks at the thrift store, and the other clip on lamp at another thrift store for 2 bucks = SCORE!!!!!


GOLD Space Nails


1 coat of Wet n Wild Black Creme, then Claire's Goldmine sponged on in some areas, I tried to leave some bare spots, then 1 coat of a black/gold shimmer/glitter jelly franken I made using WnW B|lack Creme and the Claire's Goldmine and clear nail polish. I added a few random holographic hex glitter pieces, then topped it off with 2 coats of TC ( even though only 1 coat of TC is shown in the photos this mani is really shiny and so it is reflecting everything around it, I wish I matte-i-fied this for photos)

I was a little over-zealous with the sponging, so I cannot call these galaxy nails, more like outer space nails. Though my thumb does look like clusters of galaxies, rather and outer-space.


It has been difficult but hope to stick with the gold theme for the remainder of the week. I think this is the colour family I have the least polish's of. Whenever I have needed a gold polish, I always turn to Billie Gold or Claire's 14 Karats. Those are my 2 favirote gold polish's.  Up next for gold week is a full mani with Claire's Goldmine, the holographic gold polish I used in the mani.


the large hex glitter looks more holographic in this photo below


below - unshaken franken polish I made with clear, black and a few drops of Claire's Goldmine,  this looks good layered over other polish's

above, after it has been shaken up - those gold particles stay somewhat suspended in this black jelly base...... it's really pretty, I will add this to my must-swatch basket and add photos asap


..... and a few more photos

WnW black creme, Claire's Goldmine and my black jelly gold shimmer glitter franken


♥ a nice photo to show off the space effect ♥

A Gentle S-curve Mani


3 coats of a franken  I made, with 1 coat of Avon Green Olive and Top Coat


Even though my curves are not perfect, I still like this look. Whenever I am at a loss for a cool manicure to do  - I usually end up with a simple diagonal mani, and this is a nice break from that. I cut mailing labels in the shape of an elongated ying yang that I call a Gentle S-curve manicure.

I am delighted that I can finally bend my Index finger and do stuff, so I have been doing crafty things - but have lost my creative NAIL ART MOJO, hopefully catching up on reading everyone's blog will get me inspired to whip up some cool looks for the next week.


The base polish I used is a franken polish I created with a sunny yellow and a dark matte blue
Here is the post on it and others I made with the same 2 polish's

I apply these 'nail guides' I made then snip off the excess overhang and apply polish 
=  remove when dry and add top coat

with TC


hopefully no one will point out that there is a HUGE piece of fluff on my index nail, that is shaped like an inchworm.... jutting out of the polish♥

Also; Only 2  of these fake rhinestones from the dollar-rama fell off my pinky nail on my left hand in 32 hours.... that was surprising as I only set them into my wet top coat and did not apply any polish over them, as I usually do.

another simple St. Patty's Day Mani


Here is a quick diagonal mani, using a franken and Finger Paints Tough Art To Follow. No TC. I have whipped up many frankens using Claire's Yellow Brick Road, a bright yellow polish with small slivers of shimmer, and Claire's Matte Cobalt. I love the finish and whatever it is that these slivers of chimmer are made of, looks really cool.

Matte Cobalt & Yellow Brick Road

a skittles of Cliche Green, Hulk 1 and Hulk2 Three frankens I made using the above polish's


Finger Paints Tough Art To Follow dries very, very shiny. I did not add top coat as I am still contemplating what type of embellishment to add to this.


I thought of adding the green micro beads along the line, just like I did for my mani yesterday.

Here is the package of micro beads from the DollarRama ( Canada ) they have 3 different sets.... some clear ones and other pastel colours. they did bleed into my Top Coat, so I will have to add them after TC -


I started with three coats of my base franken-polish

Then applied Nailene Straight French Tip Guides

applied 2 coats of Finger Paints Tough Art To Follow

removed tip guides......

viola!


I keep forgetting about these nail gems..... these fog over is polish gets on them, so they also need to be set INTO wet polish,  even though they still look neat fogged over. They are plastic and not real crystal/rhinestone/glass or whatever they are supposed to be made of. I have an abundance of 3 different colours of green nail gems that I should be using.


...and one more